California (Sushi Roll) Adventures

sushi california rolls

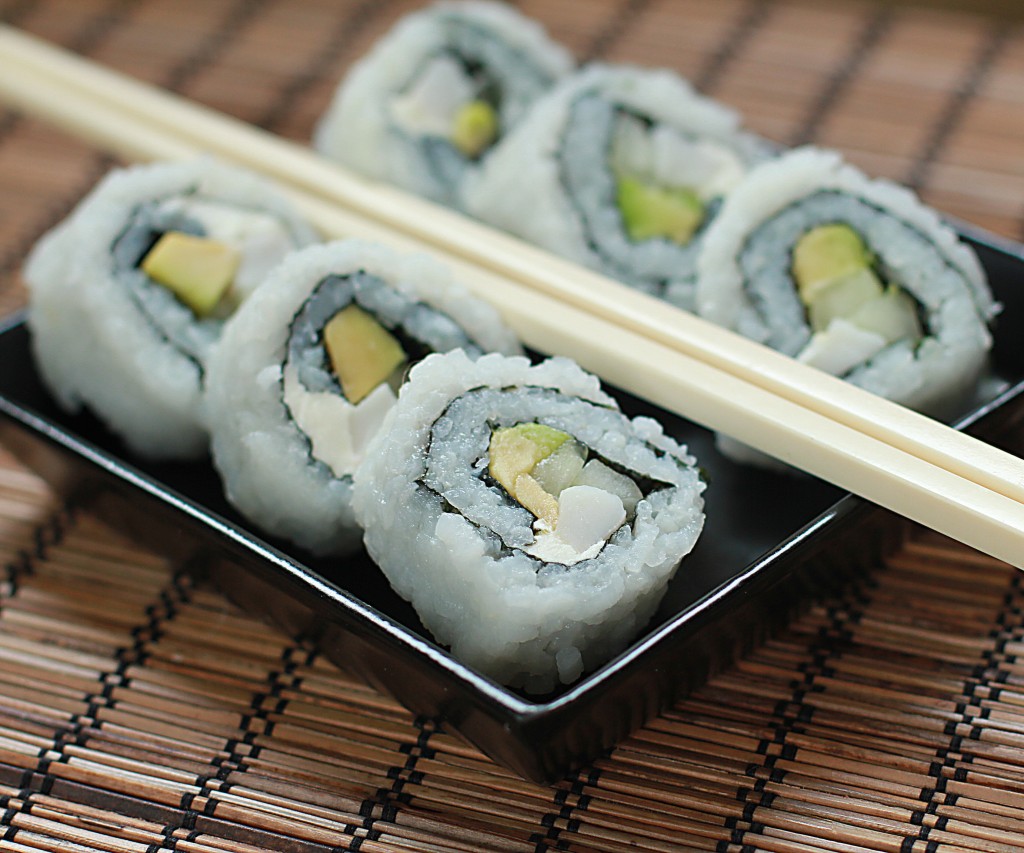
Living in Southern Minnesota, finding good sushi isn’t easy.  Luckily, finding the ingredients to make good sushi isn’t that hard.  Lately, I’ve recently been teaching myself to roll my own.  My first attempt was not bad, but not great.  Thanks to my friends at Mommysavers and their advice on how to make sushi rolls at home I quickly determined that my main mistake was layering on too much rice.  My second go-round (pictured here) was much more successful.  This time, I only added ONE cup of the sushi rice (instead of one and a half) to the Nori paper, which made all the difference.  You can make sushi at home too, with minimal practice.  All you need is a sushi kit (which are pretty  cheap on Amazon), good sushi rice, and a little patience.

Easy Sushi Rice
Prep time: 
Cook time: 
Total time: 
Serves: 4-6
 
Sushi rice is easy, but it requires short-grain sushi rice (found in ethnic grocery aisles) in order for it to work.
Ingredients
  • 1½ C. sushi rice (don’t use long grain rice)
  • 1½ C. water
  • 1½ Tbsp. rice vinegar
  • 1½ Tbsp. sugar
  • 1 tsp. salt
Instructions
  1. Rinse the rice thoroughy first, until the water runs clear. Heat a saucepan with 1½ C. water and rice over medium-high heat. Once it begins to boil, reduce heat and cover. Cook 15 minutes. Remove from heat, and let stand for 10 minutes.
  2. Meanwhile, in a separate bowl combine the rice vinegar, sugar and salt. Pour over sushi rice and toss so that all the grains are coated. Refrigerate rice at least two hours before making sushi.


How to Make Sushi Rolls

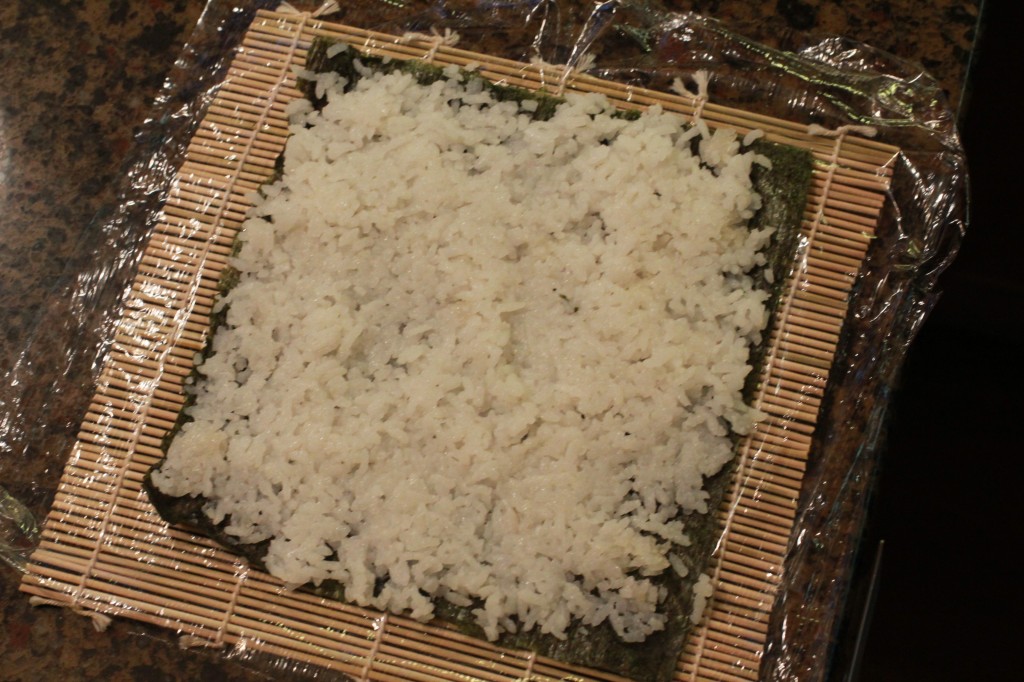
After the sushi rice has cooled and is ready to go, tear off a piece of plastic wrap and place it on your sushi mat as shown below.  Next, place the sheet of Nori on the plastic wrap.  Spread one cup sushi rice on top of the Nori, using your sushi paddle or your wet fingers to press it down evenly.  You’ll want an even, thin layer of rice.  If it’s too thick, it will be hard to roll tightly without the ingredients squirting out all over the place.

At this point, you can either flip the nori over so that the rice side is down (and on the outside of the roll) or leave it the way it is.  I flipped it over so the rice would be on the outside of my California rolls.  If desired, shake a little sesame seed or poppy seed on the rice.

For Califormia rolls, place your avocado, cucumber, and imitation crab inside.  For a Philadelphia roll, substitute the crab for smoked salmon and include a strip of cream cheese.  Experimenting with ingredients is the fun part!   Let your own taste be your guide; there are no right or wrong ingredients.  Starting on one end, use your mat to roll your sushi, pressing down as you go to create a compact roll.  With a sharp knife (it helps to wet it slightly) cut in six pieces.  Enjoy!

Frugal Tips:  Supplies to make sushi rolls can often be found at ethnic grocery stores for much less than at specialty stores.  Also, check Amazon for the best prices on your sushi mat and paddle and other tools.

california rolls


Roasted Garlic & Herb Beer Can Chicken

beer can chicken

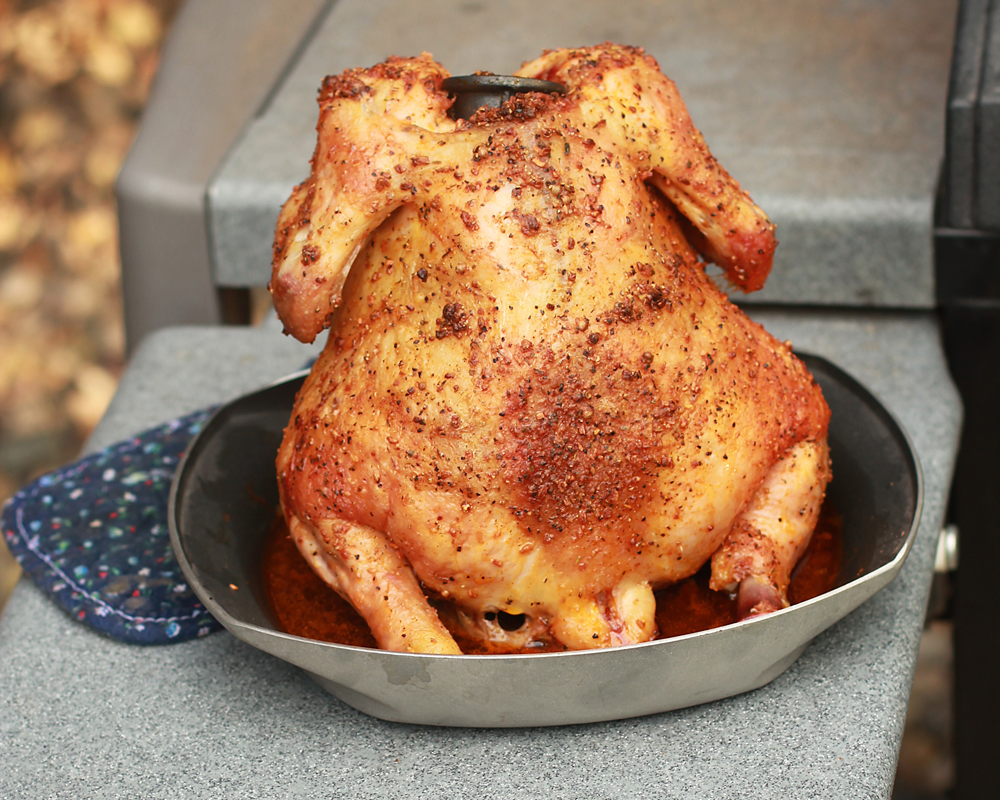
 Beer can chicken is one of those meals you can’t go without making each summer.  It’s tender, flavorful, and falls right off the bone.  Best of all, it’s easy and doesn’t cost a lot!

I got the whole chicken for under $5 at ALDI.  The seasoning is McCormick’s Grill Mates Roasted Garlic and Herb.  We use our Weber Poultry Roaster for his, but it’s certainly not necessary.  Just stick a can of beer in the cavity of the bird, place on a solid surface (like a roasting pan) and you’re good to go!

Roasted Garlic & Herb Beer Can Chicken
Prep time: 
Cook time: 
Total time: 
Serves: 4-6
 
The beer makes the chicken moist and flavorful!
Ingredients
  • 1 4-lb. chicken, whole
  • 2 Tbsp. olive oil
  • 3-4 Tbsp. McCormick Grill Mates Roasted Garlic & Herb (or other poultry spice)
  • 1 can beer
Instructions
  1. Rinse chicken inside and out, and pat dry. Rub the chicken with the olive oil, then rub with spices. Take a few swigs of beer (you don’t want it to be too full) and place the can in the cavity of the bird, and secure it on a flat surface (like on a roasting pan). Use the legs of the bird as a tripod, or support to keep it stable.
  2. Grill over medium-high heat for 1¼ – 1½ hours. Cover the grill for the first hour of cooking. After that, check the bird periodically to see if it has reached the internal temperature of 160-165 degrees. Let the chicken rest for 10 minutes before serving.


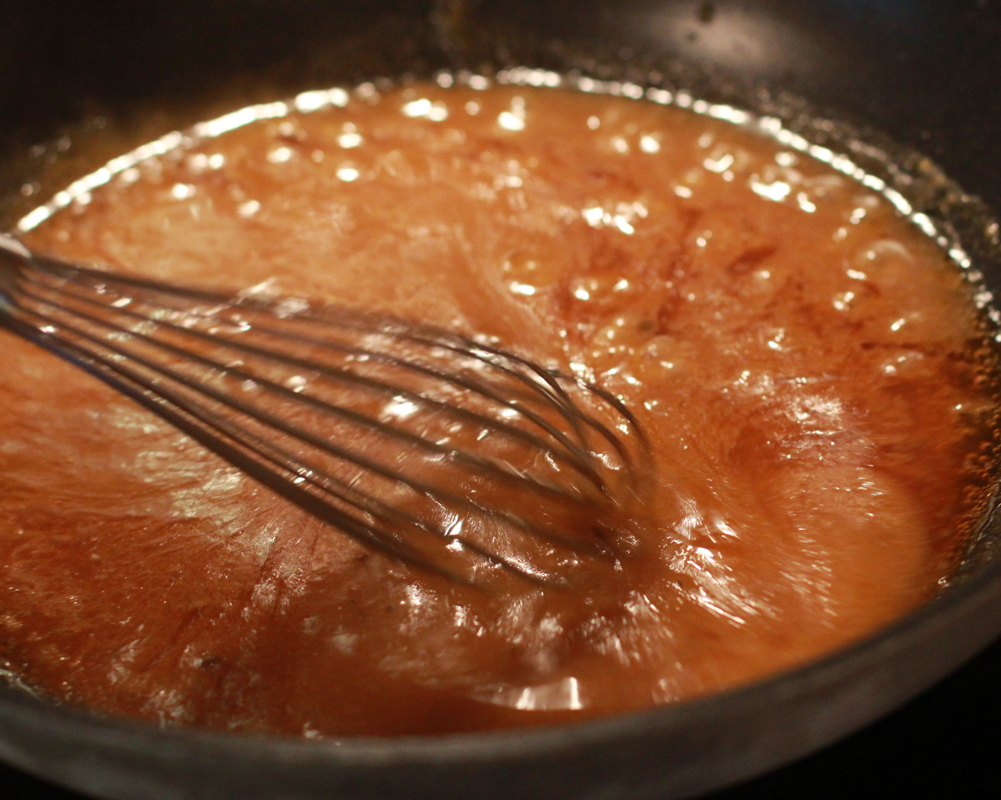
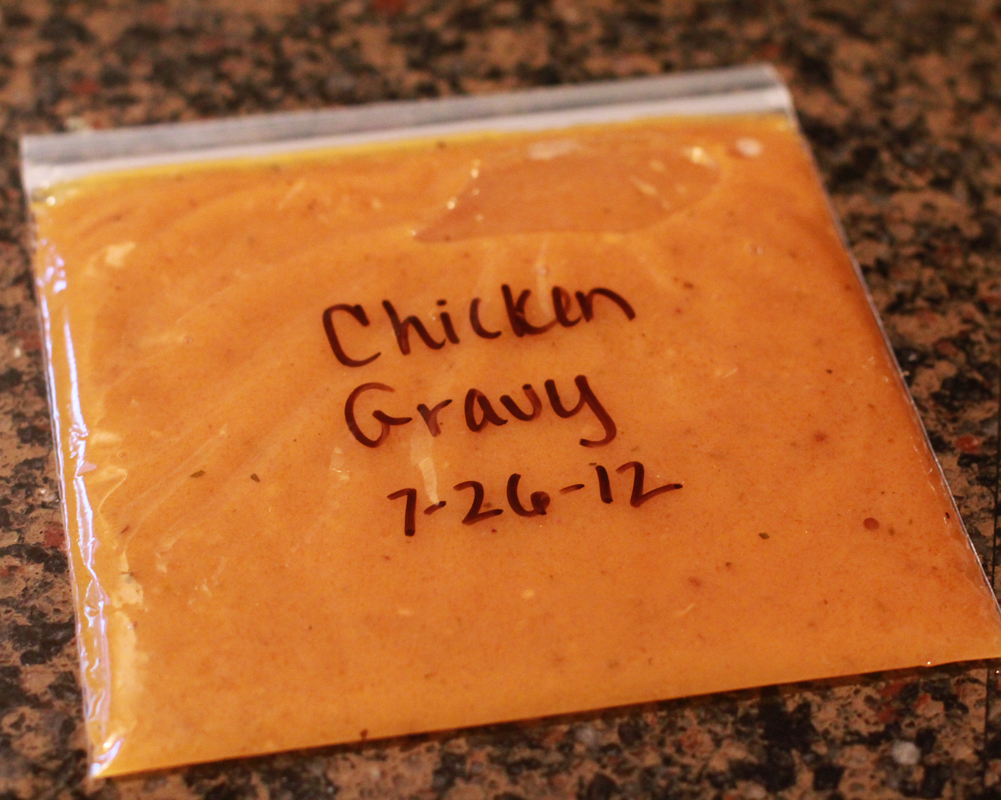
Frugal Tips:  When it comes to preparing a whole chicken, don’t throw ANYTHING away!  You can use the drippings to make a flavorful chicken gravy.  Add a little Wondra and whisk on the stove with a little water until it has thickened.

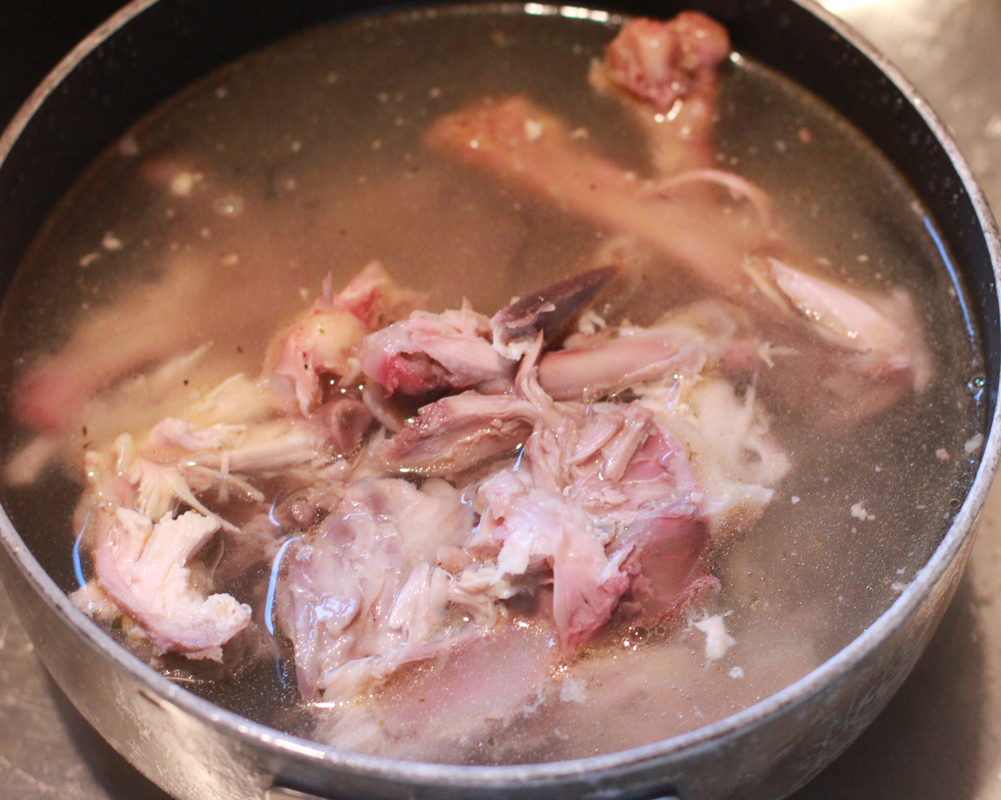
I also simmer the chicken carcass for about 60 minutes to make homemade chicken stock.  Store them both in zippered containers for future use.

chicken-gravy1

chicken-gravy

chicken stock

Copycat Recipes: Hawaiian Sweet Bread

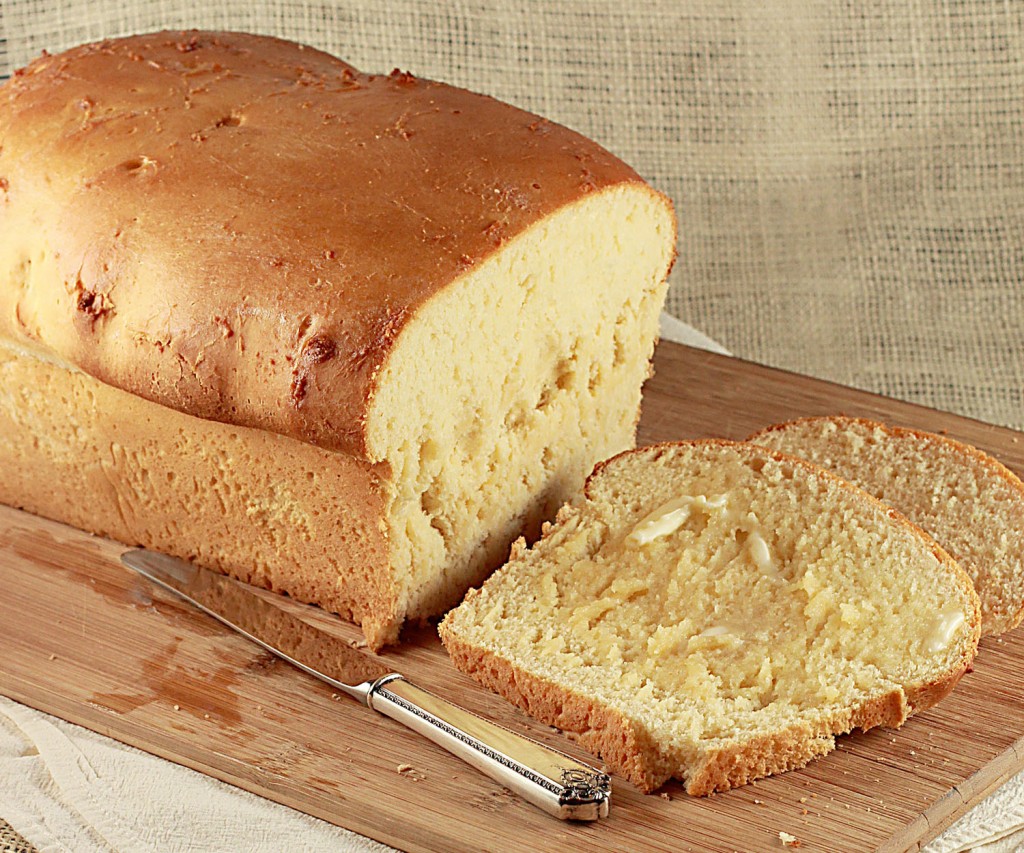
hawaiian bread

Learning to make your favorite restaurant or prepackaged foods at home not only saves money, it’s usually a lot healthier.   I recently saw a Hawaiian Sweet Bread recipe on Pinterest and decided to give it a go.   Instead of using cake rounds, I used a standard bread pan.  I had to bake the bread slightly longer because of that variation.  The two bread rounds would be more authentic and true to the shape of the Hawaiian sweet bread found in stores.  You could also use the dough to make Hawaiian sweet rolls.

Frugal Tip:  Pineapple juice is not an ingredient I buy regularly, but occasionally I’ll stumble upon a recipe that calls for it.  I purchase a large can of pineapple juice and freeze what I don’t need in ice cube trays for future use.  That way, I was able to get the best value at the store without any drop going to waste.  I can use it in this Hawaiian Sweet Bread recipe, marinades, slushies, etc.

Copycat Recipes: Hawaiian Sweet Bread
Recipe type: bread
Prep time: 
Cook time: 
Total time: 
Serves: 8-10
 
Sweet Hawaiian bread at home for much less than the prepackaged version!
Ingredients
  • Copycat Hawaiian Bread Recipe
  • 2 packets active dry yeast
  • ½ C. warm water
  • 3 eggs
  • 1 C. pineapple juice
  • ½ C. water
  • ⅔ C. sugar
  • 1 tsp. vanilla
  • ½ tsp. ginger (optional)
  • ½ C. butter, melted
  • 6 C. white flour

Instructions
  1. Mix yeast with ½ C. warm water. Let sit for 10 minutes until foamy. Combine yeast, eggs, pineapple juice, water, sugar, vanilla, butter in a mixer. Add in flour gradually. Dust a cutting board with flour and place the dough on it. Work dough in flour until it’s no longer sticky. Split in two equal sections.
  2. Grease two cake rounds and place dough inside. Let the bread rise until doubled in size. Preheat oven to 350 degrees. Bake for 25-30 minutes or until golden brown.


Recipe adapted from:  Allrecipes.com

Quick Shrimp Tacos

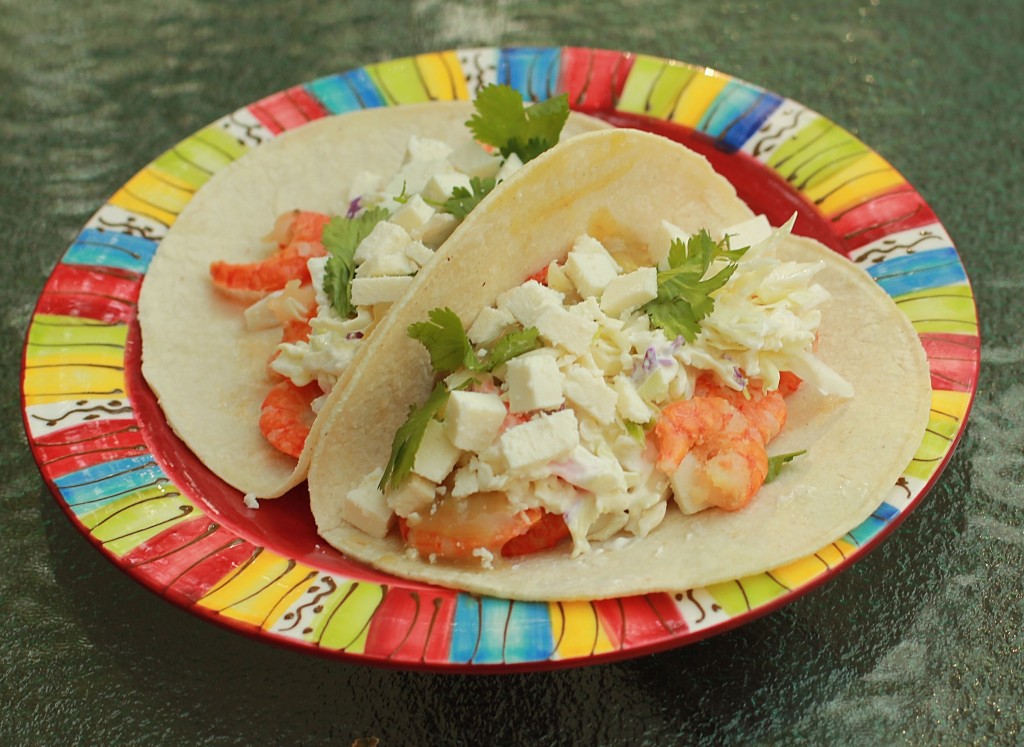
quick shrimp taco recipe

This has been our go-to recipe for shrimp tacos after tasting them in San Diego for the first time in 2007.  For me, it’s the dressing that makes it delicious (I’m a huge cumin fan).  You could easily substitute the shrimp for fish if that’s more to your liking.   For even more flavor, brush the shrimp with butter and garlic cloves, skewer them, and throw on the grill (if you have the time).  The “rainy day” method for me is just a quick toss in butter in a skillet.  Plus, it takes much less time.

Frugal Tips:   Frozen shrimp is often found on buy one, get one free sales at the supermarket.  When you see those sales, stock up!  It keeps for months in the freezer and is great for recipes like this.    To save even more money on this recipe, load your tortilla up with more slaw and fewer shrimp.  A little bit goes a long way!

Note:  If you’re going for an even healthier recipe, swap the sour cream for Greek yogurt.  You’ll hardly be able to tell the difference!

Quick Shrimp Tacos
Recipe type: Main
Prep time: 
Cook time: 
Total time: 
Serves: 4
 
These shrimp tacos are quick, easy and taste great!
Ingredients
  • ½ C. sour cream
  • 3 Tbsp. mayo
  • 4 Tbsp. milk
  • 1 tsp. cumin
  • Medium shrimp, peeled and cooked (or use leftovers)
  • 2 Tbsp. butter
  • 2 cloves garlic, minced
  • Corn tortillas
  • Cole slaw salad mix
  • Queso fresco
  • Green salsa (tomatillo)
  • Cilantro for garnish
Instructions
  1. Mix the sour cream, mayo, milk and cumin for the dressing on the cole slaw mix. Set aside. Toss your shrimp in butter in a skillet with two cloves minced garlic. Assemble all ingredients in a corn tortilla. You can either dress the slaw mix ahead of time, or have each person add as much or as little dressing as they choose. Add crumbled queso fresco, salsa and cilantro to taste.


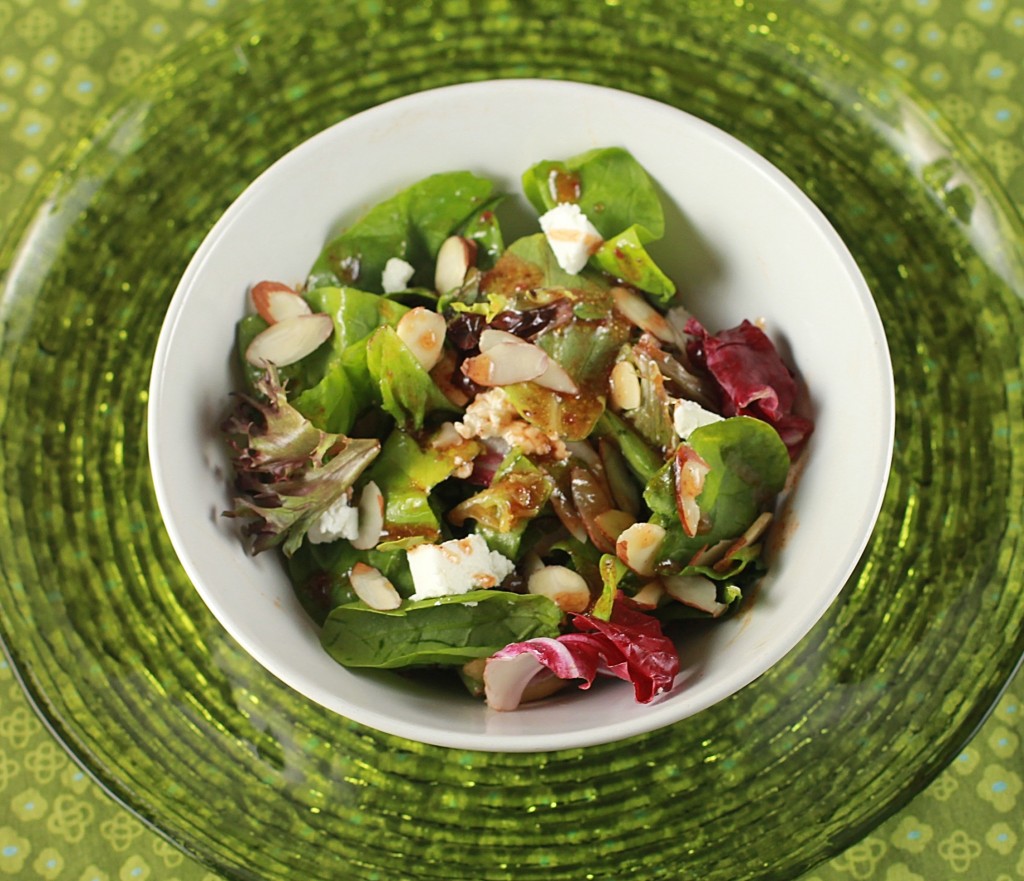
Easy Raspberry Chipotle Salad Dressing

raspberry chipotle salad dressing

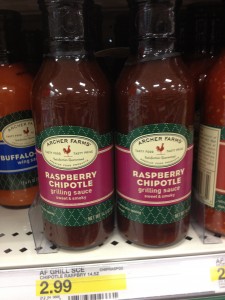
archer farms raspberry chipotle dressingI am a big fan of recipes that don’t take long; and if the outcome tastes like restaurant fare, even better!  I picked up a bottle of this Archer Farms Raspberry Chipotle grilling sauce at Target yesterday (just $2.99!) and used it to create a salad dressing in under five minutes.   I tossed it with a greens/spinach mix, goat cheese and sliced almonds.  It was delicious!

Frugal Tips:

  • Look for goat cheese at ALDI.  Last month, I spotted President Brie logs on sale there for just $.99!  Sam’s Club and Costco are also great sources for inexpensive cheese.  Soft cheeses are more perishable than hard cheeses, but they can be frozen.
  • Sliced almonds run about $2.49 (ALDI) to $2.99 (Target) a bag.  A little goes a long way!  I used less than 1/4 bag on these salads.  Don’t forget to put the partially used bag in the freezer so the nuts stay fresh for the next time you use them.
  • The rest of your Raspberry Chipotle Sauce will taste good on grilled chicken, but it’s also great as an appetizer.  Pour about 1/3 C. over a block of softened cream cheese for a frugal appetizer.  Serve with crackers or cocktail bread.
Easy Raspberry Chipotle Salad Dressing
Recipe type: Salad
Prep time: 
Total time: 
Serves: 4
 
An easy semi-homemade dressing that’s ready within minutes!
Ingredients
  • ½ C. Raspberry Chipotle Sauce (any brand will work)
  • ⅓ C. vegetable oil
  • 2 Tbsp. red wine vinegar
  • Cracked black pepper to taste
Instructions
  1. Whisk the ingredients above together until emulsified. Enjoy!