Cornish Pasties

cornish pasties

Cornish Pasties

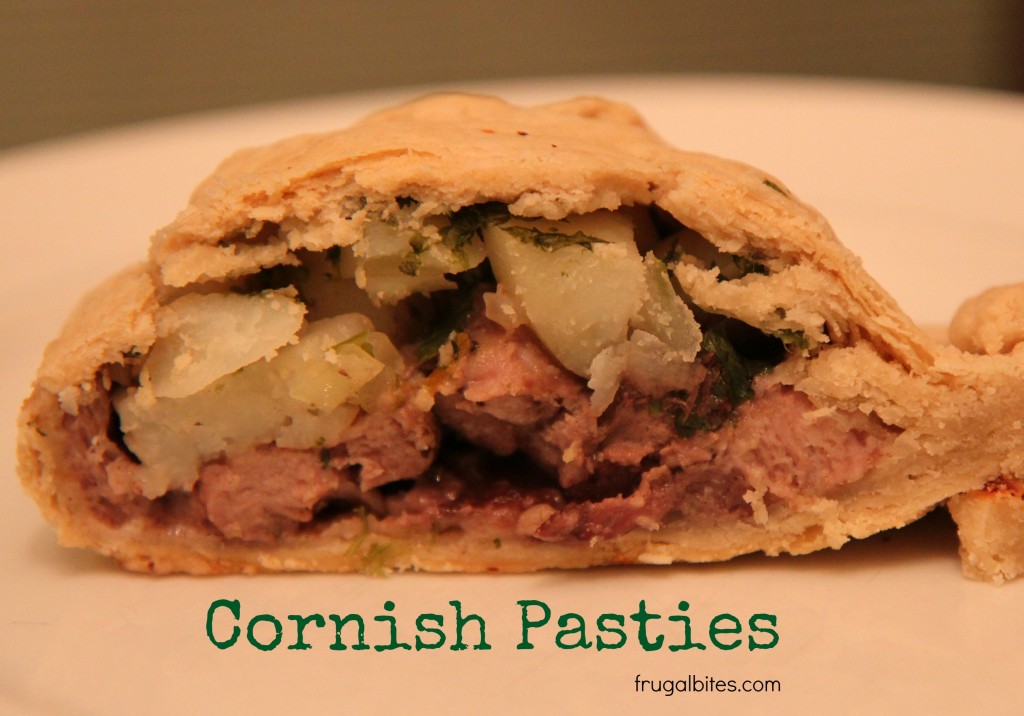
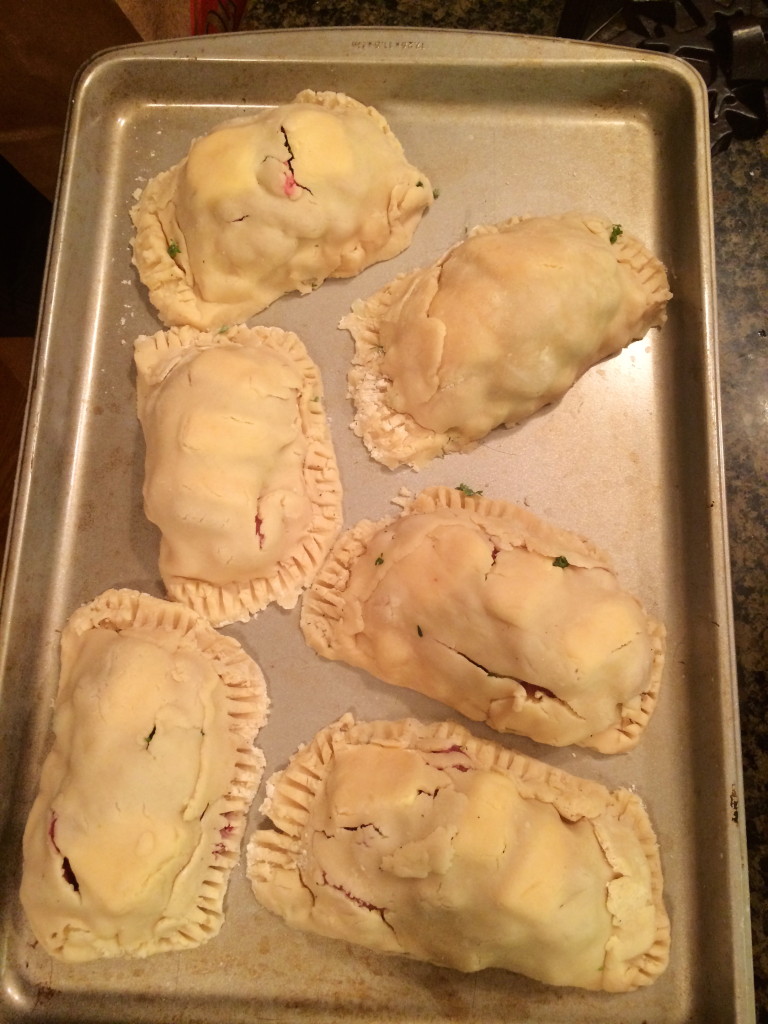
I grew up eating Cornish Pasties.  My grandmother’s ancestors came from Cornwall, England, where pasties are thought to have originated.  She also grew up on the Minnesota Iron Range, where they were also a common meal.  Pasties were a hearty and satisfying lunch for wives to send with their miner husbands.  The crust acted as an insulator and kept the insides warm, and he could eat it by holding it in his hands.  Nearly 100 years later, I’m still making them for my family.

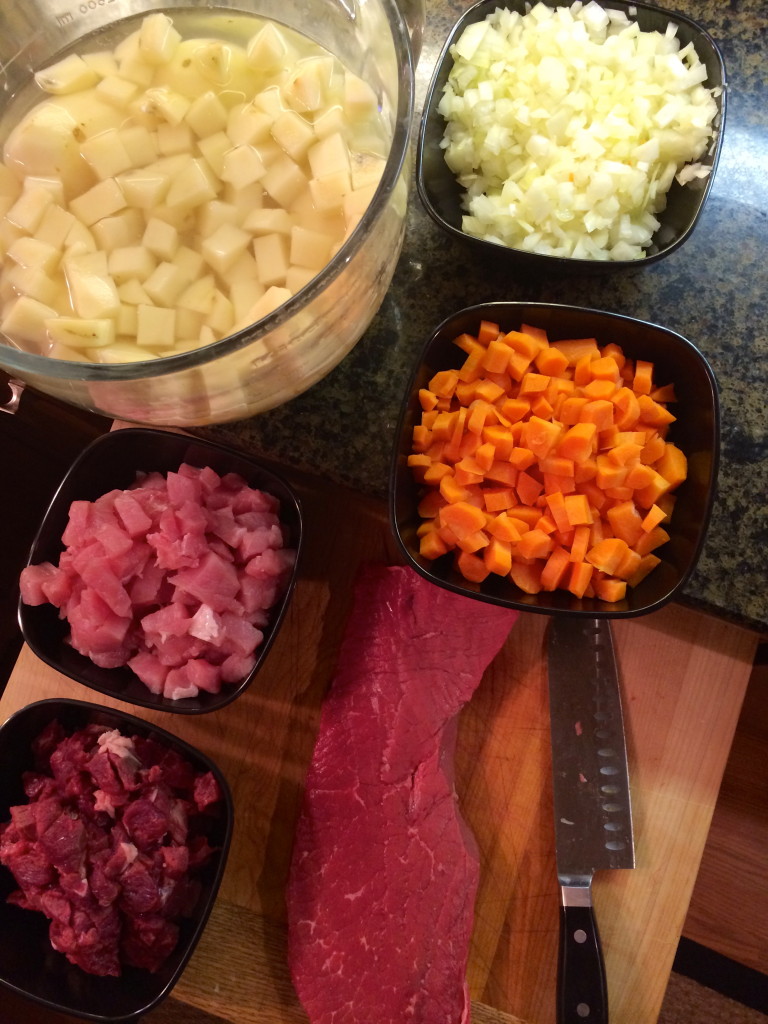
Making pasties is not a quick process.  The chopping of the veggies and dough preparation can turn it into an all-afternoon project.  However, you can make many of them at once.  I make a double or triple batch so I can enjoy pasties all winter long.  Cook them partially (about halfway) and freeze for later.

4.0 from 1 reviews

Cornish Pasties
 
Ingredients
  • Cornish Pasty Crust Recipe
  • 2 C. flour
  • 1 tsp. salt
  • ⅔ C. lard or vegetable shortening*
  • 2 Tbsp. butter
  • 6-8 Tbsp. ice water
  • Cornish Pasty Fillings
  • 1½ C. minced onion
  • 3 C. diced potato
  • 1½ C. sliced carrots**
  • 1-1/2 lb. beef steak, cubed (sirloin or round)***
  • 1-1/2 lb. pork steak, cubed***
  • Parsley, chopped (fresh)
  • Salt and pepper to taste
  • Butter wedges
Instructions
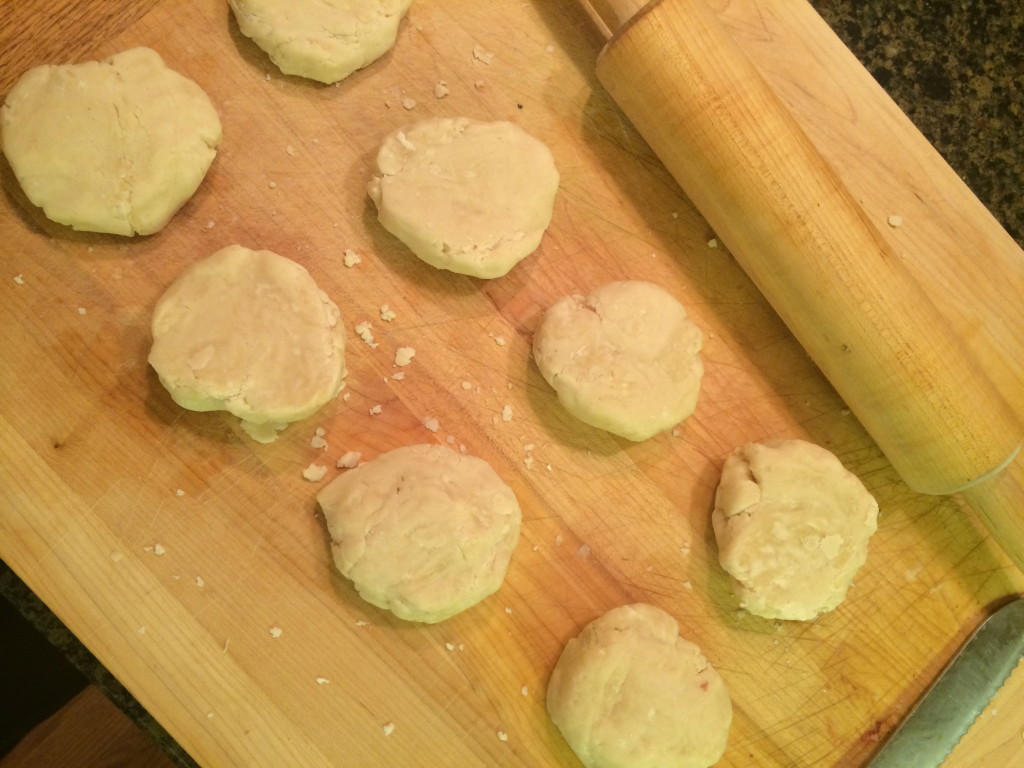
  1. For Crust: Mix dry ingredients together, then add shortening bit by bit until mixture becomes mealy. Add ice water one tablespoon at a time until a dough has been formed. This makes enough dough for three large pasties or four medium-sized pasties. Form dough into a ball and cut into three or four equal sizes. Roll out each ball and then add pasty fillings below.
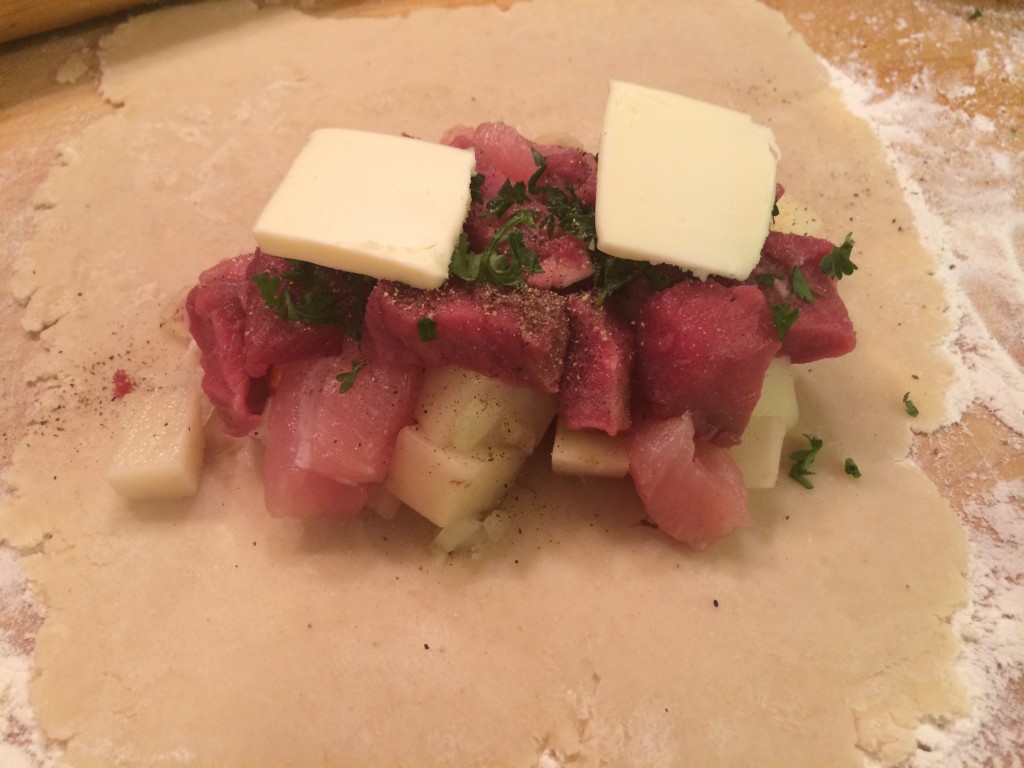
  2. For Filling: On top of the dough that you’ve just rolled out, layer minced onion, potatoes, carrots, beef steak, pork steak, parsley. Add a couple butter wedges and season with salt and pepper.
  3. Fold the top of the pasty dough over the filling ingredients and seal the edges (mine was not fancy, but if you’re a skilled pastry chef you can do fluted edges).
  4. Bake your pasties at 425 degrees for 15 minutes, then turn the heat down to 375 degrees and cook one hour more. If you’re going to be freezing them to eat later, cook for 45 minutes instead of an hour. When ready to cook, heat them for about a half hour at 375 degrees.
  5. *The original recipe that my grandmother used called for lard, but I substitute Crisco.
  6. **Many other traditional pasty recipes call for rutabaga or turnip, but we’ve never used that. It was a recipe that my grandmother handed down to my mom, and now to me.
  7. ***For me, packs of beef and pork sirloin came in 1-1½ lb. packages. That was enough for a double recipe of pasties, or save half and freeze to use later.

 cornish pasties cornish pasties cornish pasties cornish pasties

I originally posted this recipe here:  Homemade Cornish Pasty Recipe

Easy Ham Sliders Recipe

easy ham sliders

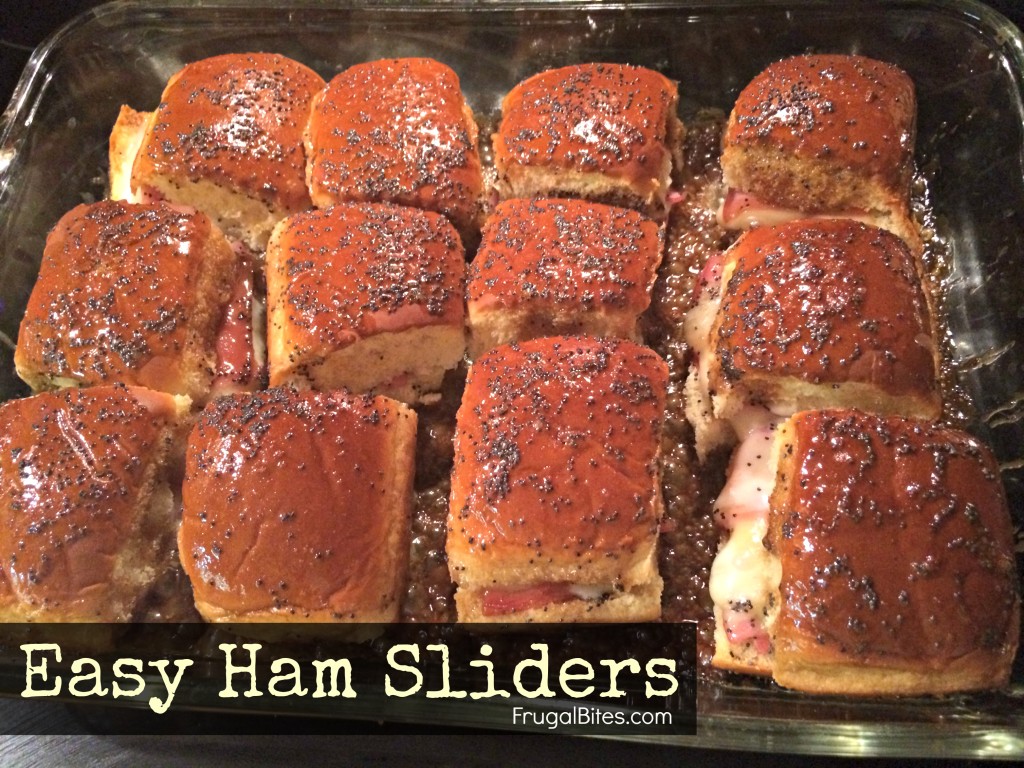
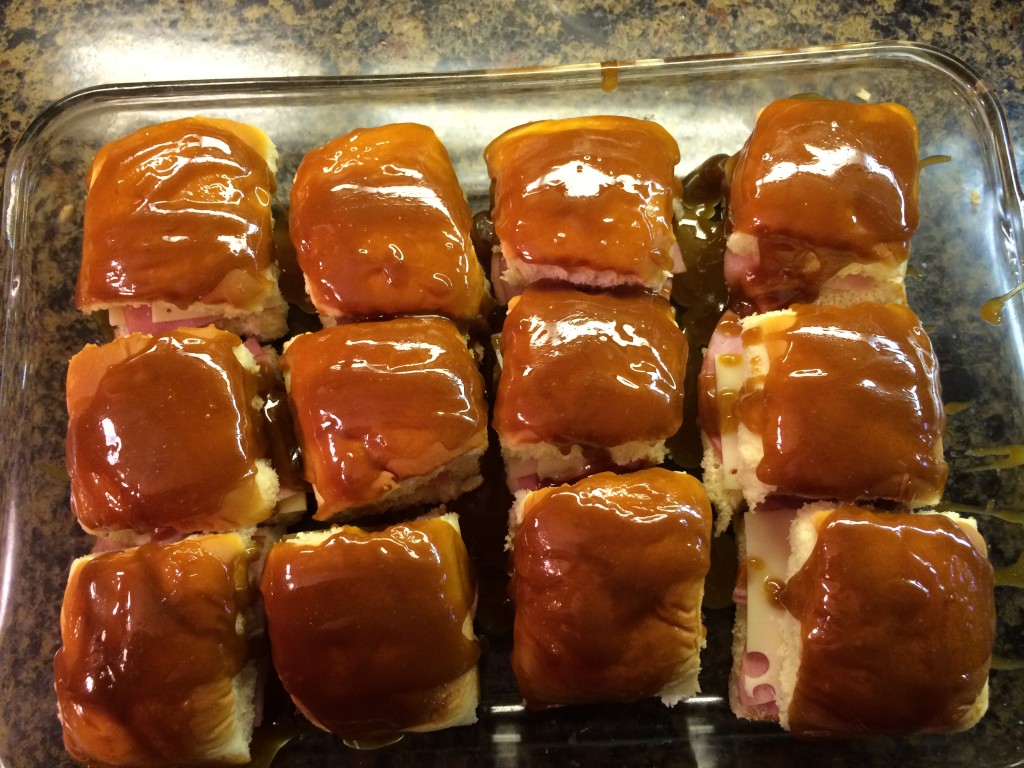
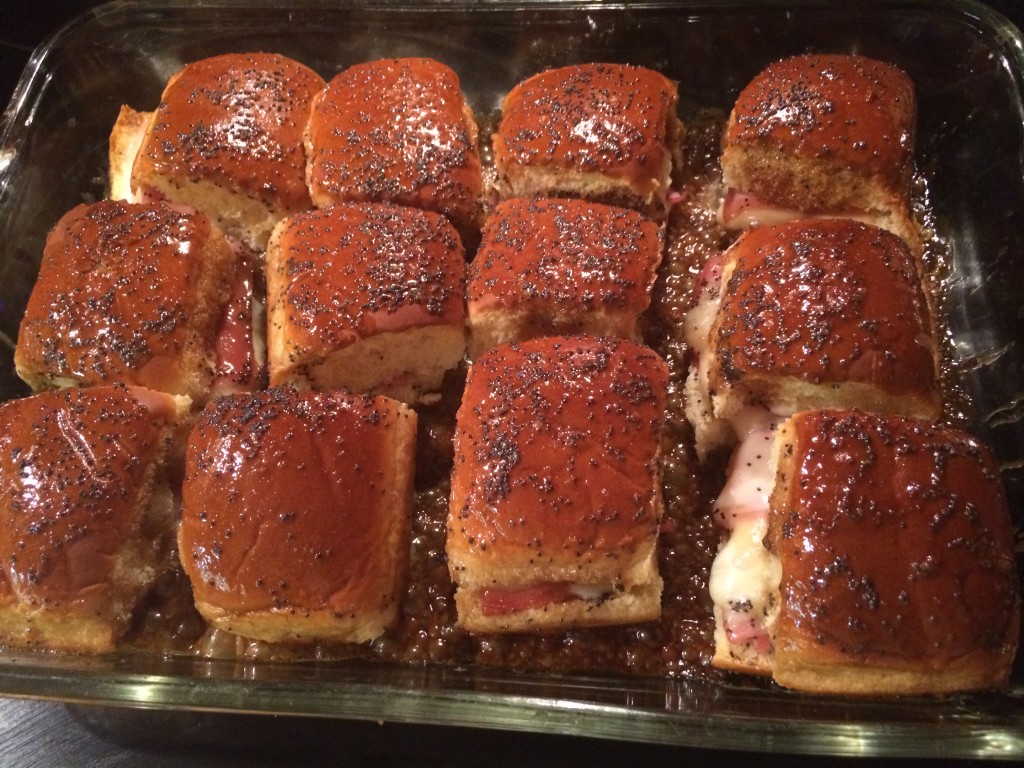
This Easy Ham Sliders Recipe is so simple, but it tastes like a million bucks!   It’s perfect for parties or tailgating.  Your guests will think you spent much longer in the kitchen that you actually did. Plus, it’s a great make-ahead meal since all the prep work can be done the night before.

Easy Ham Sliders Recipe

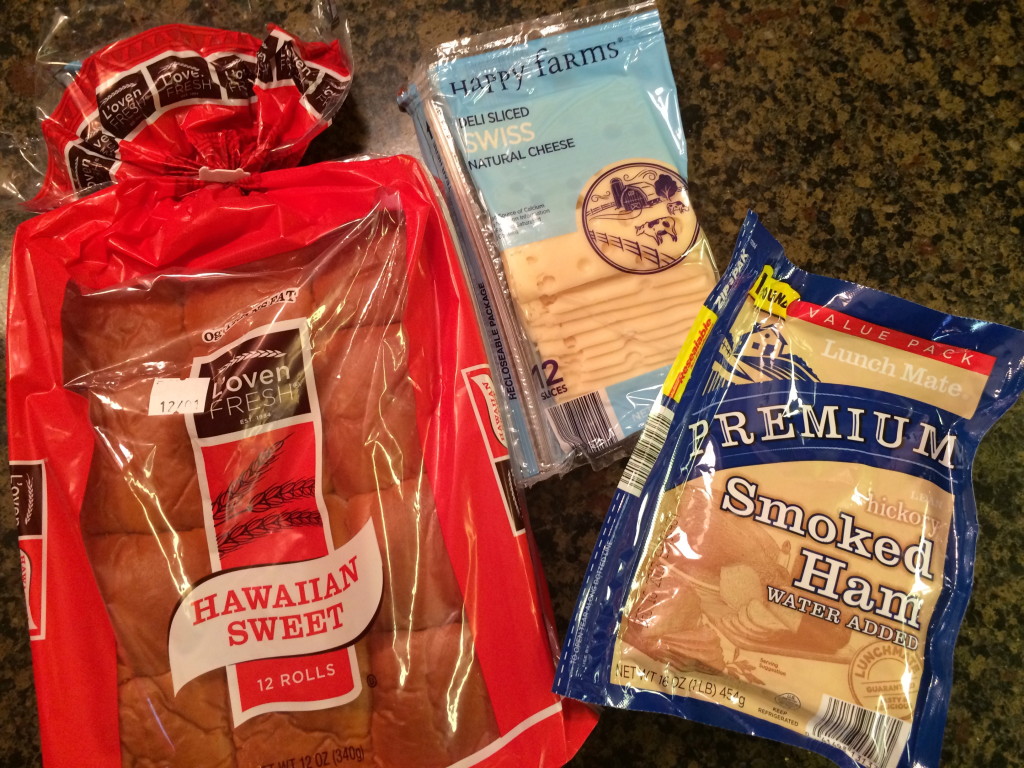
  • One dozen Hawaiian sweet rolls
  • Swiss Cheese
  • Sliced ham
  • 1/2 C. (one stick) butter
  • 1 Tbsp. Worcestershire sauce
  • 1/4 C. brown sugar
  • 1 Tbsp. prepared mustard
  • Poppy seeds (optional)

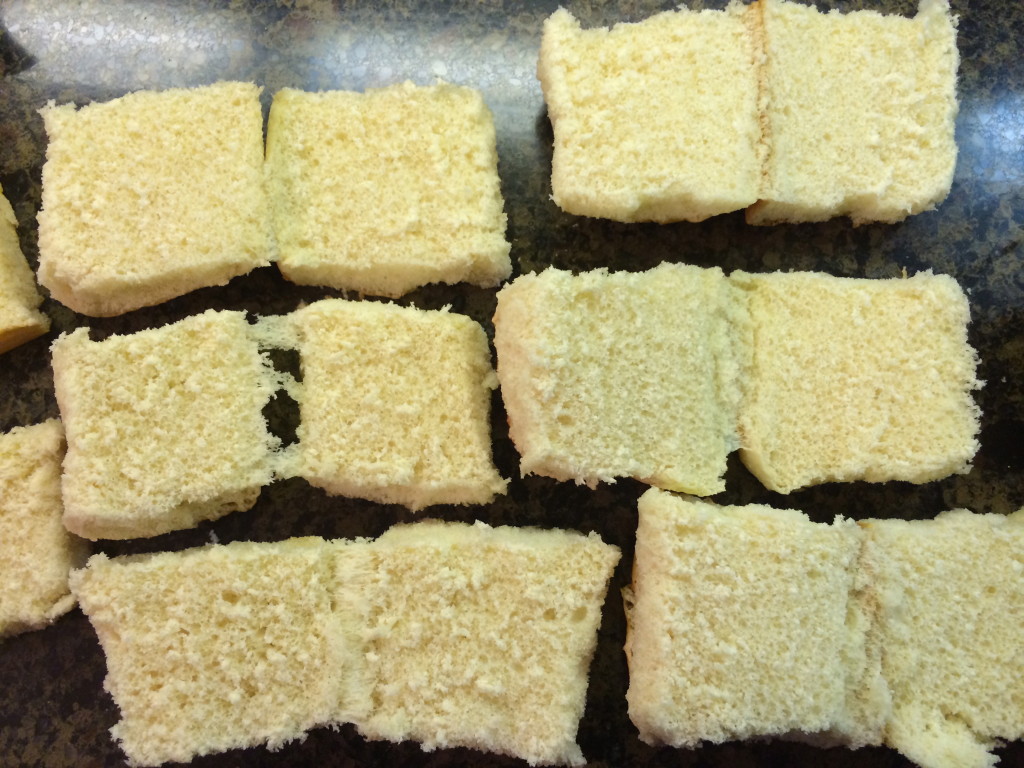
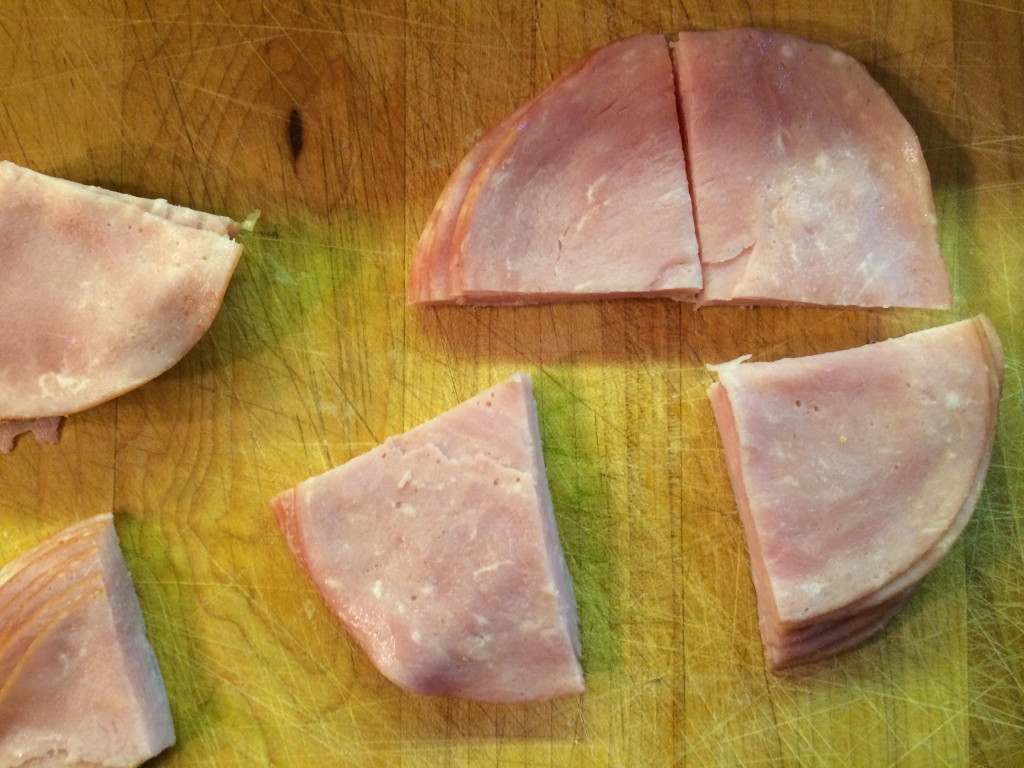
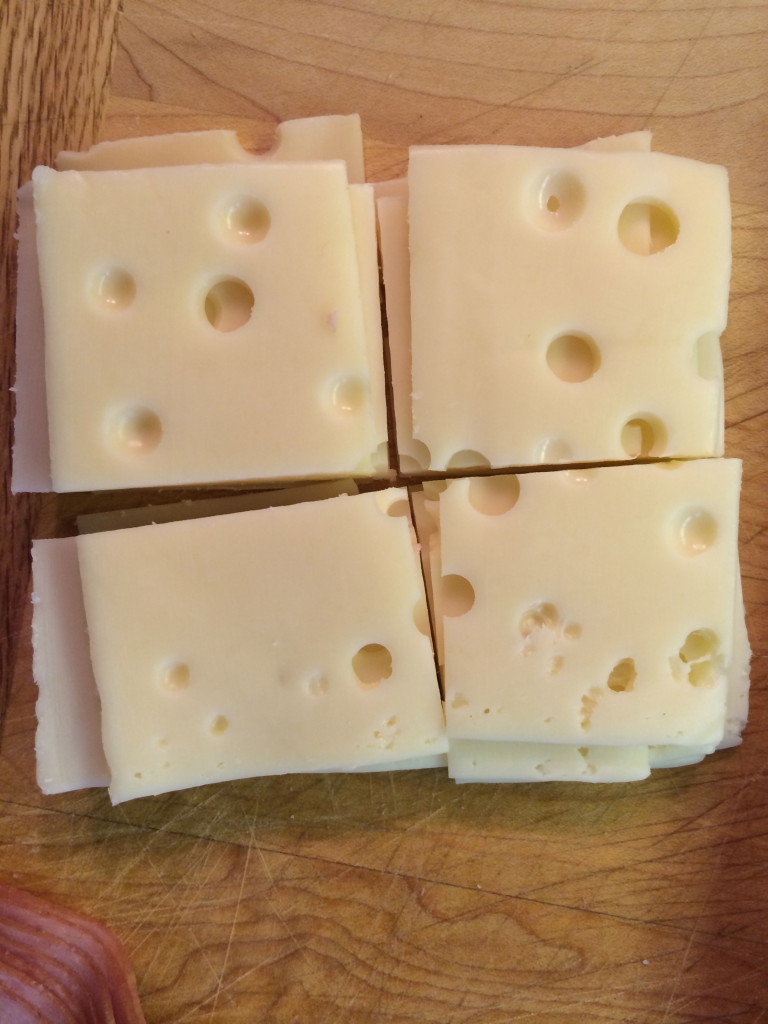
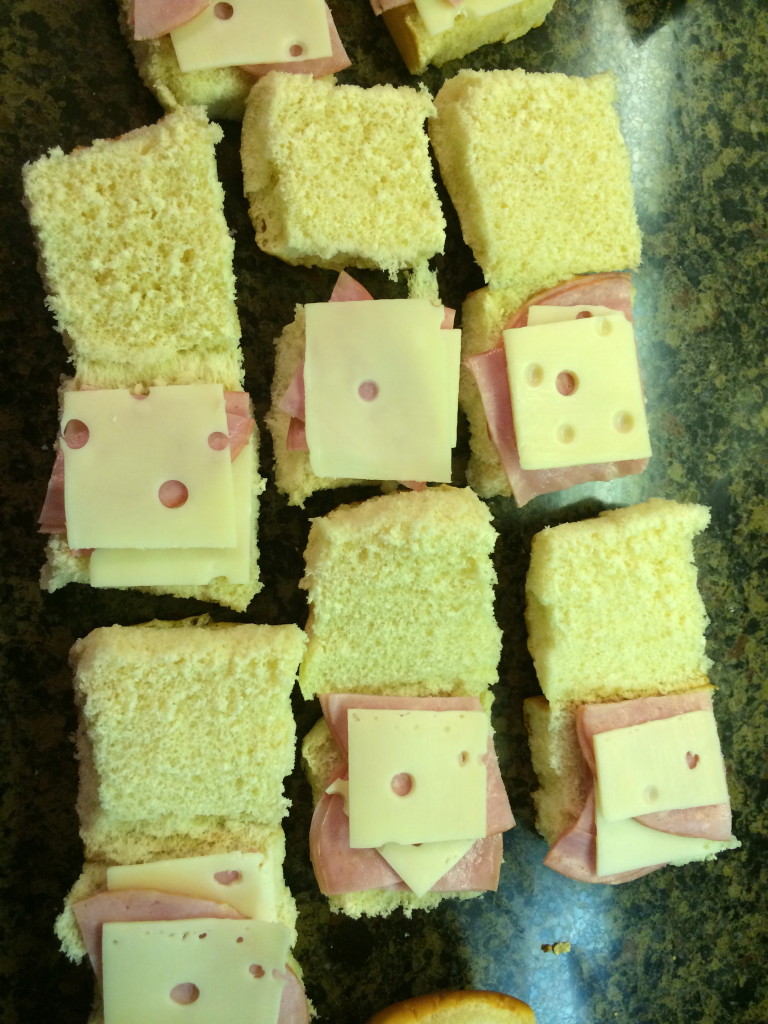
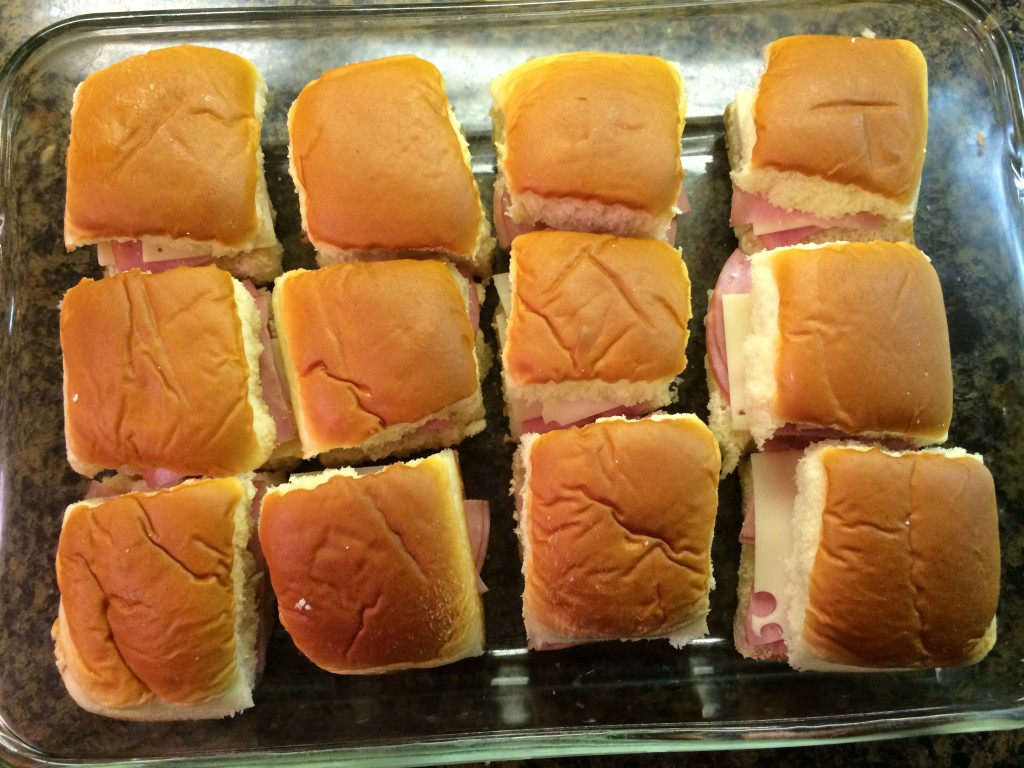
In a saucepan, bring the butter, Worcestershire sauce, mustard and brown sugar to a boil over medium-high heat. Cool. Meanwhile, add sliced ham and cheese to your buns. Place in a glass Pyrex baking dish. Pour the cooled sauce over buns. Sprinkle with poppy seeds if desired. Cover with aluminum foil and place in the refrigerator. Let soak a few hours or overnight.

Preheat oven to 325. Bake for 20 minutes covered, then remove foil and bake an additional 5 minutes.

Makes 12.

Frugal Tips: The main ingredients for this recipe (the Ham, Swiss cheese, and Hawaiian sweet rolls) can all be found at ALDI. Shopping there will save you tons of money!

ham sliders recipe

easy ham sliders recipe easy ham sliders recipe easy ham sliders recipe easy ham sliders recipe

easy ham sliders easy ham sliders easy ham sliders

I originally posted a variation of this recipe (Ham and Swiss Sliders) on Mommysavers.com.

Roast Leg of Lamb with Balsamic Reduction

roast leg of lamb


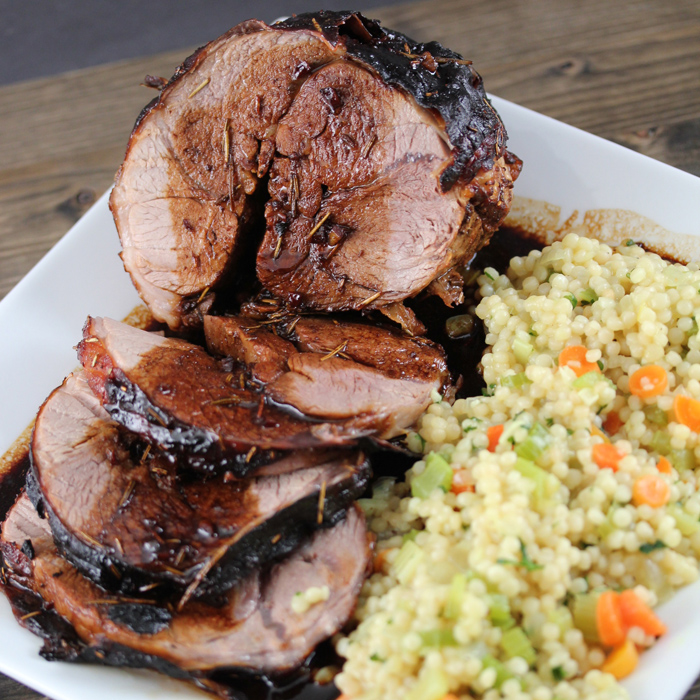
If you’ve never had leg of lamb, you’re missing out on a culinary treat.  It’s tender, and somewhat earthy tasting.  I love it with Mediterranean side dishes like couscous (pictured above).    When I saw it at ALDI, I knew I had to get it!  I use this recipe as a basis, but created a balsamic reduction as well.

Frugal Tips:  When cooking a more expensive cut of meat, a little bit goes a long way.  Make sure you have plenty of frugal side dishes to go along with it to bring down the overall cost of the meal.

Roast Leg of Lamb with Balsamic Reduction
Cook time: 
Total time: 
Serves: 4-6
 
This roast leg of lamb dish is simple, yet will please the most sophisticated of palates.
Ingredients
  • Leg of lamb roast (2-4 lb.)
  • ¼ C. honey
  • 2 Tbsp. Dijon mustard
  • 2 Tbsp. fresh rosemary
  • 1 tsp. lemon juice
  • 4 cloves garlic, minced
  • 1 tsp. cracked black pepper
  • Sea salt to taste
  • ¼ C. balsamic vinegar
Instructions
  1. In a bowl, combine the honey, mustard, rosemary, lemon juice and garlic. Pour over the lamb roast, cover and marinade at least 2-3 hours in the refrigerator (or overnight).
  2. Preheat oven to 450 degrees. Place lamb on a roasting rack and add salt and pepper to taste. Cook for 20 minutes, then reduce temp to 400 degrees. Continue cooking 55-60 minutes or until the internal temperature reaches 145 degrees.
  3. Remove roast and allow to sit for 10 minutes before carving. While you’re waiting, pour remaining marinade into a small saucepan and add balsamic vinegar. Simmer until reduced, then pour over the roast just before serving.


Moroccan Chicken Stew

Moroccan Chicken Stew

My daughter has loved couscous for a long time, so while we were at Disney’s EPCOT Center last month the Moroccan restaurant Marakesh was one we could all agree upon.The food was fabulous, but the best part of our visit there was getting to know our waitress.  Like many EPCOT staff, Maryem was participating in a work-based exchange program.  She told the kids about what life was like for her in Morocco and went the extra mile to make our experience there fun and educational. We left with the desire to visit Morocco one day, but with the more immediate goal of cooking up some mouth-watering Moroccan food at home.

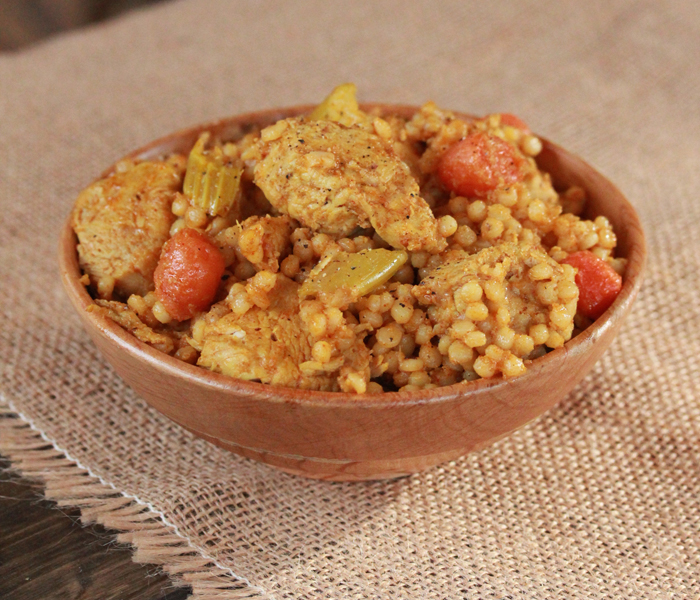
I did a little research and came up with this Moroccan chicken stew recipe.  It was really good, even for picky palates (my son). It would be a good way to introduce reluctant eaters to international flavors.

Frugal Tips:  Israeli couscous is a great alternative to pasta.  My kids love it!  It absorbs whatever flavors it is cooked with.  Whenever I’m looking for a filler item on Amazon, I add it to my cart.  It’s available here:  Israeli Couscous

disney moroccan restaurant marakesh

Moroccan Chicken Stew
Prep time: 
Cook time: 
Total time: 
Serves: 6
 
Ingredients
  • 3 Tbsp. olive oil
  • 2 onions, chopped
  • 6 garlic cloves, minced
  • 1 lb. carrots, sliced in 1″ pieces
  • 4 celery stalks, sliced in 1″ pieces
  • 1 Tbsp. ground coriander
  • 1 Tbsp. cumin
  • 1 Tbsp. paprika
  • 1 tsp. tumeric
  • 1 tsp. lemon juice
  • 6 C. chicken broth (divided)
  • 2½ lb. chicken pieces, browned (chicken thighs work well) and cut into 1″ bites
  • 2 C. large-pearl couscous (Israeli couscous)
  • Salt and pepper to taste
  • Instructions
Instructions
  1. In a large pot or Dutch oven, heat olive oil. Saute onion until caramelized. Add garlic, carrots, and celery. Saute 2-3 minutes. Add spices, lemon juice and 4 cups of the chicken broth along with browned chicken pieces. Cover and simmer 20-30 minutes, or until vegetables are cooked through. Add couscous and additional 2 cups chicken broth, and simmer until couscous is done (about 8-10 minutes). Season with salt and pepper.

Venison Medallions with Balsamic Reduction

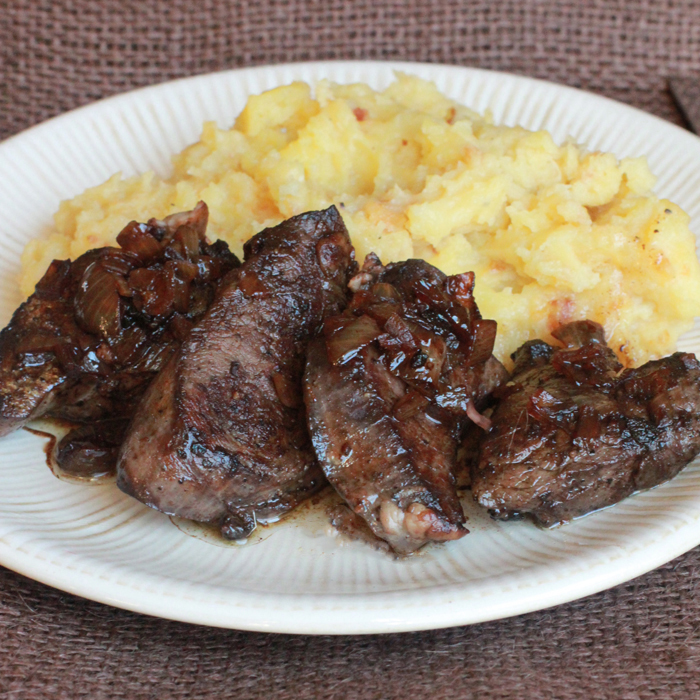
Venison Medallions with Balsamic Reduction

I live in Minnesota:  Land of 10,000 lakes and even more hunters.   While my own husband enjoys fishing and duck hunting, deer hunting is something he’s never really gotten into.  That’s too bad, because I really like the taste of venison.  However, we’re lucky to have friends that do deer hunt… and bring us meat!

These venison medallions were such a treat.  This recipe is based on Emerill’s Venison Medallions recipe on Foodnetwork.com but adapted according to our taste.  The balsamic glaze was to-die-for.  And SO easy.

Venison Medallions with Balsamic Reduction
Prep time: 
Cook time: 
Total time: 
Serves: 4
 
Ingredients
  • Venison medallions
  • Salt and freshly ground black pepper
  • 2 Tbsp. olive oil
  • 2 Tbsp. butter
  • 3 Tbsp.minced shallots
  • ¼ C. balsamic vinegar
Instructions
  1. Liberally season venison medallions with salt and pepper. Meanwhile, heat olive oil in a skillet over medium-high heat. Brown medallions for 3 minutes on each side. Remove from heat.
  2. Add butter to skillet, scraping to deglaze the pan. Sautee the shallots until translucent. Add balsamic vinegar and heat until reduced. Pour over browned venison medallions.


Frugal Tip:  Hunting and foraging for food is the most basic of frugal tips.  My husband jokes that his duck hunting expenses go to “put food on the table” but c’mon… I know better.   Hunting is just an excuse for men to escape their jobs, wives, obligations and be primal.  However, I never turn down free meat.  If you get offers, do the same!  Use the internet to find ways to prepare things according to your own taste.